EMF radiation is invisible energy which is produced by electrical products such as the cell phone…
Switching To Hard Wired Internet – A Complete Guide

*We may earn a commission for purchases made using our links. Please see our disclosure to learn more.
Imagine arriving home from work, instructing Alexa to illuminate the room while simultaneously turning on your smart TV to indulge in a movie, all while scrolling through social media on your phone. These routine activities share a common element: the need for an internet connection, typically achieved through wireless means.
Yet, if you find yourself on this page, it’s likely that you’re questioning the safety of your wireless internet connection. You are not alone. In recent times, concerns have grown regarding electric and magnetic field (EMF) radiation, emitted by various electrical devices, including power lines and WiFi networks. While invisible, this radiation affects you at a cellular level.
EMF radiation consists of two main types: extra low frequency (ELF) radiation, emitted by anything with an electric current, and radiofrequency (RF) radiation, emitted by signal-transmitting devices such as cell phones, laptops, and microwaves.
Both ELF and RF radiation have been associated with various health issues. A study on ELF radiation revealed a higher incidence of leukemia in children living closer to power lines. The Childhood Cancer Research Group at the University of Oxford found a statistically significant correlation between power line proximity and childhood leukemia.
RF radiation has been linked to an increased risk of gliomas, a fatal brain cancer, as well as male infertility. It can also cause fatigue, depression, weight loss, and other adverse effects in individuals particularly sensitive to EMF radiation. The International Agency for Research on Cancer classifies RF radiation as possibly carcinogenic, and WiFi emits RF-EMF radiation.
Wireless vs Wired Internet
Explanation of Wired Internet
Wireless internet, or Wi-Fi, has become the default mode of internet access due to its convenience. With Wi-Fi, multiple devices can connect to the internet without the need for physical cables. This wireless connection is facilitated by a router, which transmits data to and from a network of devices via radio signals.
Explanation of Wired Internet
On the other hand, wired internet involves the use of physical cables (often Ethernet cables) to connect your device directly to the router. The data travels along this cable, providing a direct and dedicated connection from your device to the internet.

Comparison between the two (Speed, Reliability, Security, Health)
While Wi-Fi offers the convenience of mobility and multiple device connections, it has its disadvantages. Wi-Fi signals can be susceptible to interference from various household devices, walls, and even other Wi-Fi networks, which can lead to an unstable connection. In terms of speed, although Wi-Fi technology has improved over the years, a hard-wired connection generally offers faster and more consistent speeds.
Security-wise, hard-wired connections have the upper hand. While Wi-Fi connections can be secured, they are inherently more open to potential security breaches than wired connections. Additionally, a hard-wired connection reduces the levels of electromagnetic field (EMF) exposure in your home, making it a healthier option for those concerned about the potential effects of prolonged Wi-Fi exposure.
What You Can Do
Thankfully, completely renouncing technology is not necessary. Hardwired internet connections provide a lower-EMF alternative to WiFi, offering improved security, faster speeds, and overall reliability. While some EMF emissions are still present in wired connections, they are significantly lower than those associated with WiFi.
One option is to enlist the assistance of an expert who can evaluate your needs, install ethernet cables, and ensure optimal performance. If you prefer a DIY approach, this guide can provide valuable insights and guidance for setting up a wired connection.
Step 1: Get the equipment

To transition to a hardwired internet setup, your first step is to acquire the necessary equipment. If your internet service provider is leasing you a modem, that’s a good starting point. However, if you don’t already have a modem, you will need to purchase one. Opt for a modem that also functions as a router with wireless capabilities, but ensure it has the option to disable WiFi broadcasting.
Consider the Motorola SURFboard SB6121 as an excellent choice. This modem offers lower bandwidth and operates solely through ethernet connections. It is compatible with various internet providers, making it a crucial consideration when selecting a modem. The lower bandwidth is advantageous as it minimizes the amount of EMF radiation emitted by the device itself.
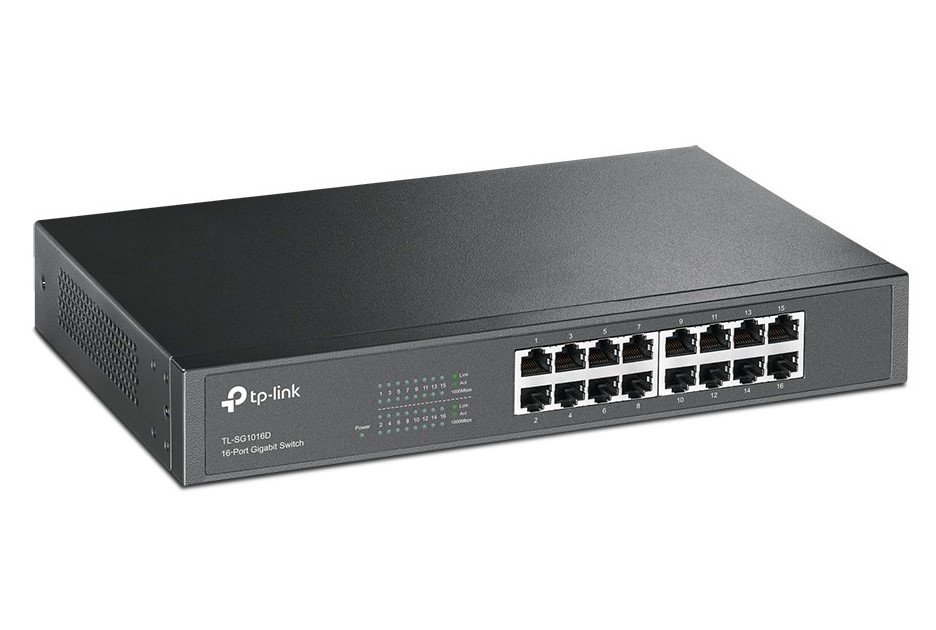
Additionally, you will require ethernet cables and an ethernet switch. The switch enables you to connect multiple ethernet cables, facilitating a wired connection for all your devices. It’s important to determine the number of devices in your home that require a wired connection, ensuring that the switch has an adequate number of ports to accommodate them all.
If you’re in the process of replacing your home’s WiFi with a hardwired setup, it’s likely that you’ll require a sufficient number of ports to accommodate your devices. TP-Link offers a highly regarded 16-port switch, which has received excellent reviews from users. For those with an extensive array of devices to connect, there is also an impressive 48-port version available. On the other hand, if you have a tighter budget or fewer devices, the 5-port version may be more suitable.

In some modern homes, you may find internet stations strategically located, allowing you to connect your modem directly to a dedicated port. This setup enables the signal to be transmitted via wiring to every room in the house, eliminating the need for an additional ethernet switch. It’s an ideal arrangement, providing convenient access to hardwired wall ports throughout your home.
To enhance your hardwired setup and further reduce EMF output, consider using reinforced or shielded ethernet cables. Opt for cables that offer additional protection against electromagnetic radiation. Depending on your needs, you can either have a dedicated ethernet cable for each device or share a cable among multiple devices, ensuring they won’t be in simultaneous use. Zoison’s ten-foot shielded cable has received positive reviews on platforms like Amazon.
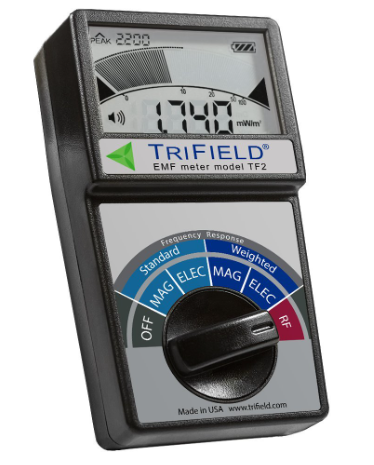
Furthermore, an essential tool for this process is an EMF meter. These devices measure the level of EMF radiation in the surrounding environment and are invaluable for those concerned about EMF exposure. Our recommended choice is the TriField TF2. Although it may be slightly more expensive than other options, the TF2 stands out with its ability to detect electric, magnetic, and RF frequencies. This comprehensive feature is crucial for monitoring and managing the overall EMF levels in your home.
Step 2: Check your benchmark
To begin your EMF reduction journey, gather your EMF meter and prepare a notebook or spreadsheet. Proceed to take EMF readings in each room of your house, diligently recording the results. These initial readings serve as your benchmark. Once you have deactivated your WiFi and implemented a wired internet connection, you should observe a significant reduction in these numbers.
This step is crucial as it enables you to track your progress and gauge the effectiveness of your efforts. Additionally, conducting EMF readings throughout your home helps raise awareness about other potential sources of EMF radiation. For instance, if you identify a high EMF reading in a specific area of your bedroom, it is advisable to avoid placing your bed in that particular spot to minimize your exposure.
Step 3: Plug in and run cables
Now that you have all the necessary equipment, it’s time to kickstart the process. Begin by plugging in your modem and following the setup instructions provided by your internet service provider. Typically, this involves installing software on your computer and following the on-screen prompts to configure your modem. Once you have established an internet connection, connect one end of an ethernet cable to the ethernet port on the modem, and the other end to your ethernet switch.
With the ethernet switch powered up and connected, you can now proceed to run cables from the switch to each room where you desire internet access. If your home has multiple levels, this may involve drilling through floors or ceilings. You can choose to route the cables alongside the carpet or secure them to the wall using tape. For a more aesthetically pleasing setup, consider running the cables behind the walls and installing a port in each room.
Homes already equipped with built-in wired internet connections require a slightly different approach. In this case, simply connect your modem and plug your devices into the wall ports using shielded ethernet cables.

Step 4: Connect your devices
Once you’ve got the ethernet cables in each room that needs access, you can start to plug your devices in. This could include televisions, desktop computers, video game consoles, and anything else with an ethernet port. Your cell phone may be without internet, but a desktop computer (or even a laptop with a wired connection) is safer for surfing the web when it comes to EMF output. If you do go the laptop route, just be sure to either invest in a radiation pad or avoid putting the device directly onto your lap.
You may find that some of your devices require WiFi, and there’s no way around it. If this is the case, you may need to have a weak WiFi connection and use a WiFi router guard to help shield yourself from some of the subsequent radiation. If you do have to go this route, only turn the WiFi connection on when you are using it. For example, if you only need the WiFi to save on phone data, then only switch the connection on when you are using your phone for data-intensive activities. All other times, leave the WiFi off and the phone in airplane mode. Download music, movies, and games whenever possible to further reduce your WiFi usage, as well.
Step 5: Turn off WiFi
The ultimate step in the transition to a hardwired connection involves deactivating the WiFi functionality on both your modem and all devices capable of connecting wirelessly. This process may take some time, considering the number of devices you own that rely on WiFi.
If you are using a wired-only modem like the Motorola SURFboard, there is no need to disable WiFi. However, for modems with built-in WiFi capability, you must switch off the WiFi function. The specific steps for doing this will vary depending on your internet service provider and the modem brand. Typically, you can accomplish this through the modem’s provided software on your computer. Look for the connectivity settings and locate the WiFi-related option.
Some modems may have physical switches for quick and easy WiFi deactivation. Consult your modem’s owner’s manual if you encounter any difficulties.
It is crucial to disable WiFi on each device as well. If WiFi remains enabled on your laptop, for instance, it will continuously scan for available networks, emitting unnecessary EMF radiation. Therefore, ensure that you disable the WiFi function on all devices to effectively reduce EMF exposure.
Remember to check devices such as cell phones, computers, smart appliances, digital assistants (e.g., Google Home or Amazon Alexa), smart TVs, game consoles, and tablets. If there are devices that do not offer the option to disable WiFi, try not to worry about them and focus on the ones that you can modify. The goal is to minimize overall exposure to EMF radiation.
Test Your Work
After setting up your hardwired internet connection, it’s crucial to assess the new EMF levels in your home. Retrieve your EMF meter and spreadsheet, and once again proceed to each room, carefully measuring and documenting the readings. With the correct installation and WiFi disabled on all devices, you can expect significantly improved EMF levels throughout your home.
However, if you find that the readings are still higher than desired, there are additional measures you can take to further reduce the overall EMF exposure in your living space. Turning off Bluetooth functionality on devices, switching your cell phone to airplane mode whenever possible, and acquiring a guard for smart meters are effective steps you can implement to bolster protection against EMF radiation. By adopting these precautions, you can create a safer and healthier environment for yourself and your loved ones.
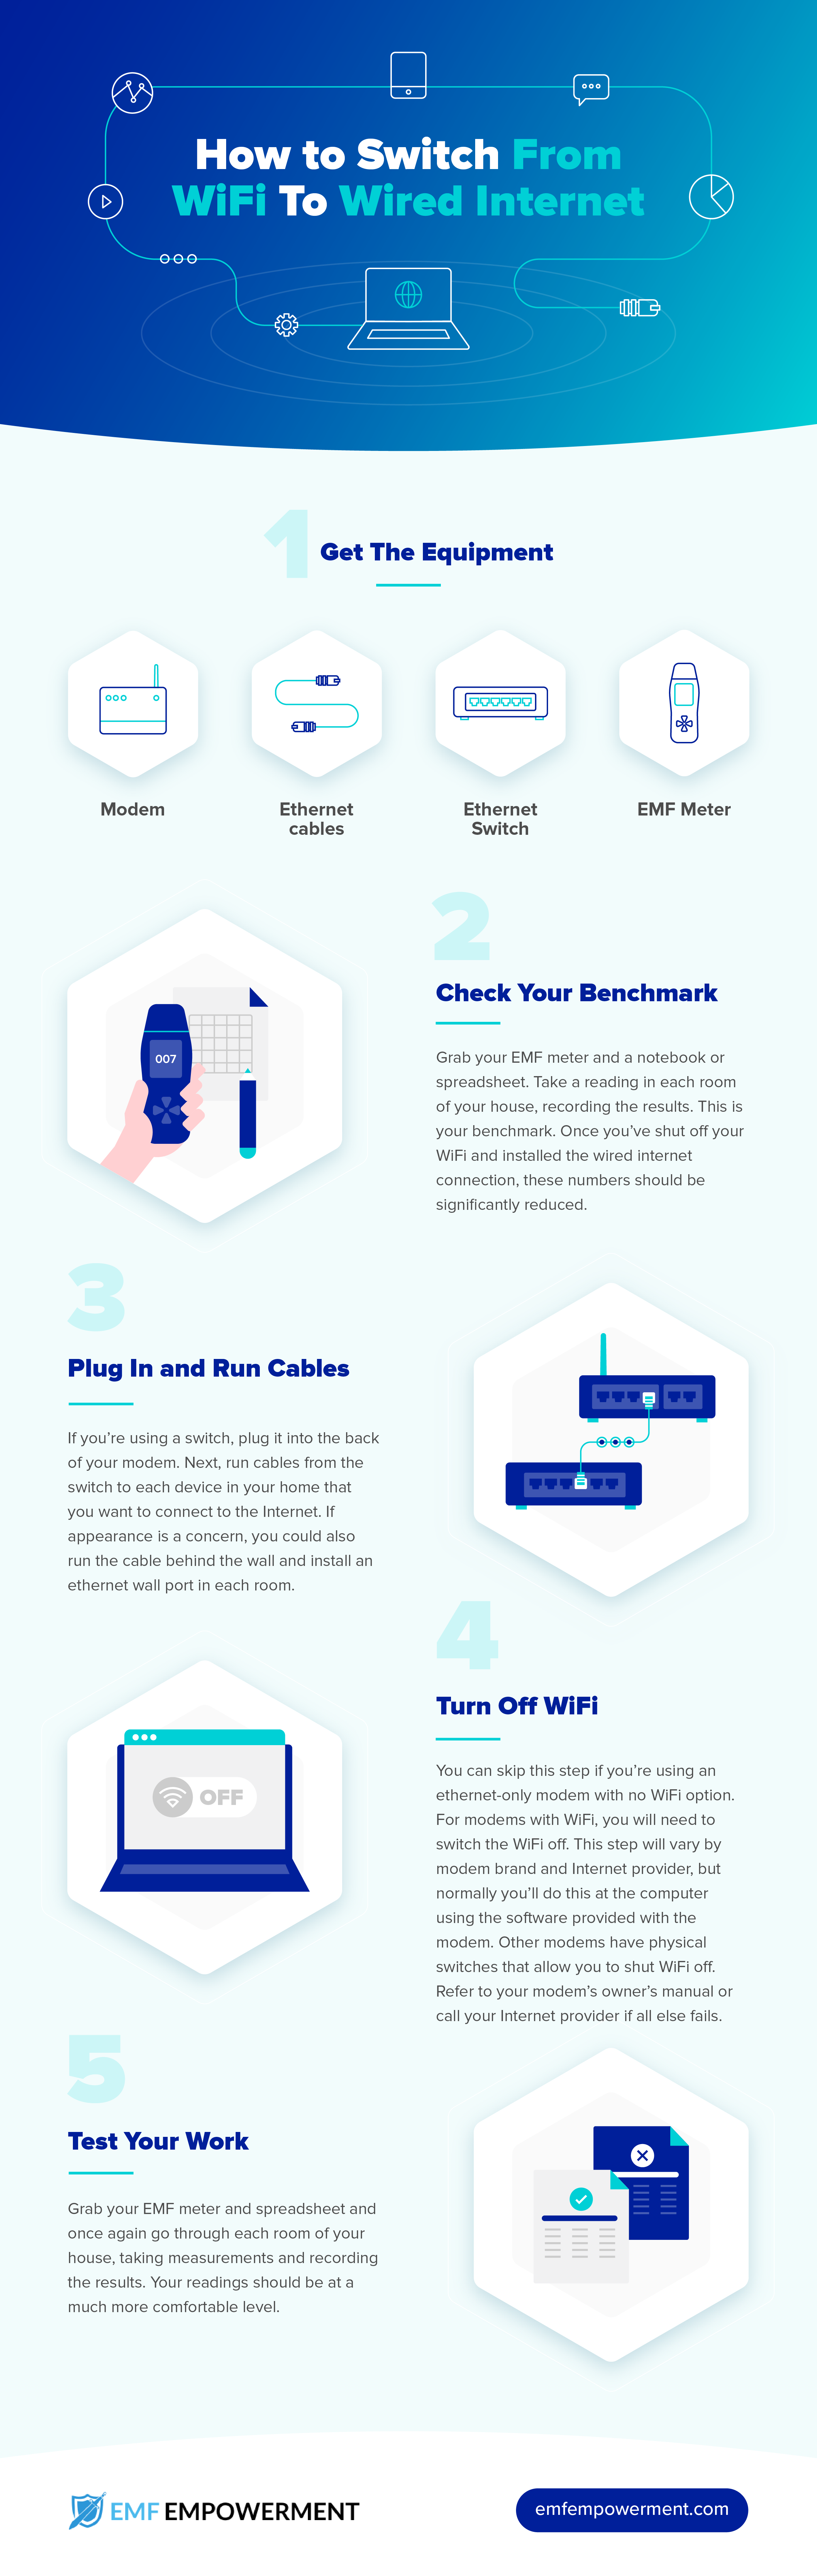
You may repost this infographic on your website provided you link to emfempowerment.com.
Final Thoughts
Opting for a hardwired internet connection over WiFi brings numerous advantages, making it a worthwhile choice for those concerned about EMF radiation. Beyond the enhanced security and reliability, hardwired connections emit significantly less RF-EMF radiation. While installing the necessary connections in every room may require some effort, the benefits far outweigh the initial investment.
Once your hardwired lines are in place, maintenance becomes minimal. Modems and cables can be easily upgraded to keep up with evolving internet speeds, and any issues can usually be resolved by having spare ethernet cables on hand.
By prioritizing the reduction of your family’s exposure to EMF radiation, making the switch to wired internet is a simple yet effective step. It allows you to protect yourself and your loved ones while enjoying the convenience and benefits of an internet connection throughout your home.
More to Explore